Before DRACOON for Teams can be used, it must first be allowed in your DRACOON environment.
After that, DRACOON for Teams can either be added automatically by the Teams administrator to all users or added by individual users themselves as needed.
Step 1: Allow DRACOON for Teams in your DRACOON environment
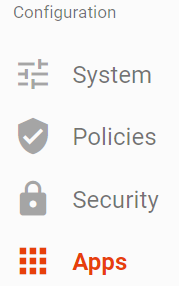
- In the DRACOON Web App, in the left sidebar, click Settings, and then click Apps.
You'll need the Config Manager role for this.
- Turn on the DRACOON for Teams switch if it is turned off.
Step 2: Add DRACOON for Teams to all team members
If you want DRACOON for Teams to be automatically available to all members of your team, and you don't want them to have to manually add the app before they can use it, follow these steps:
- In the Microsoft Teams admin center, under Teams apps > Manage apps, select the DRACOON for Teams app, and then click Add to team.
- Enter the name of your team and click the Apply button at the bottom.
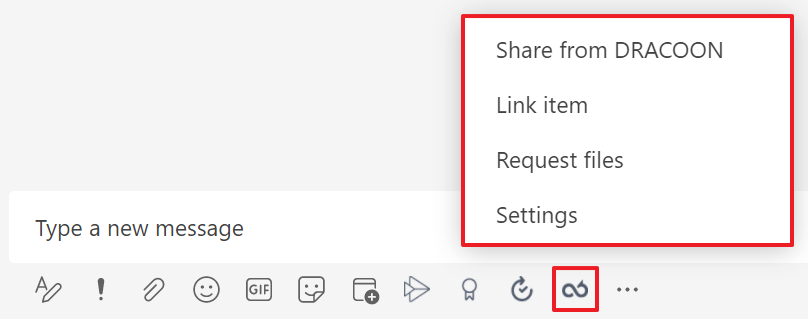
DRACOON for Teams is now automatically available to all members of your team in chat messages and channel conversations:
Comments
0 comments
Article is closed for comments.